
Last updated October 30, 2026
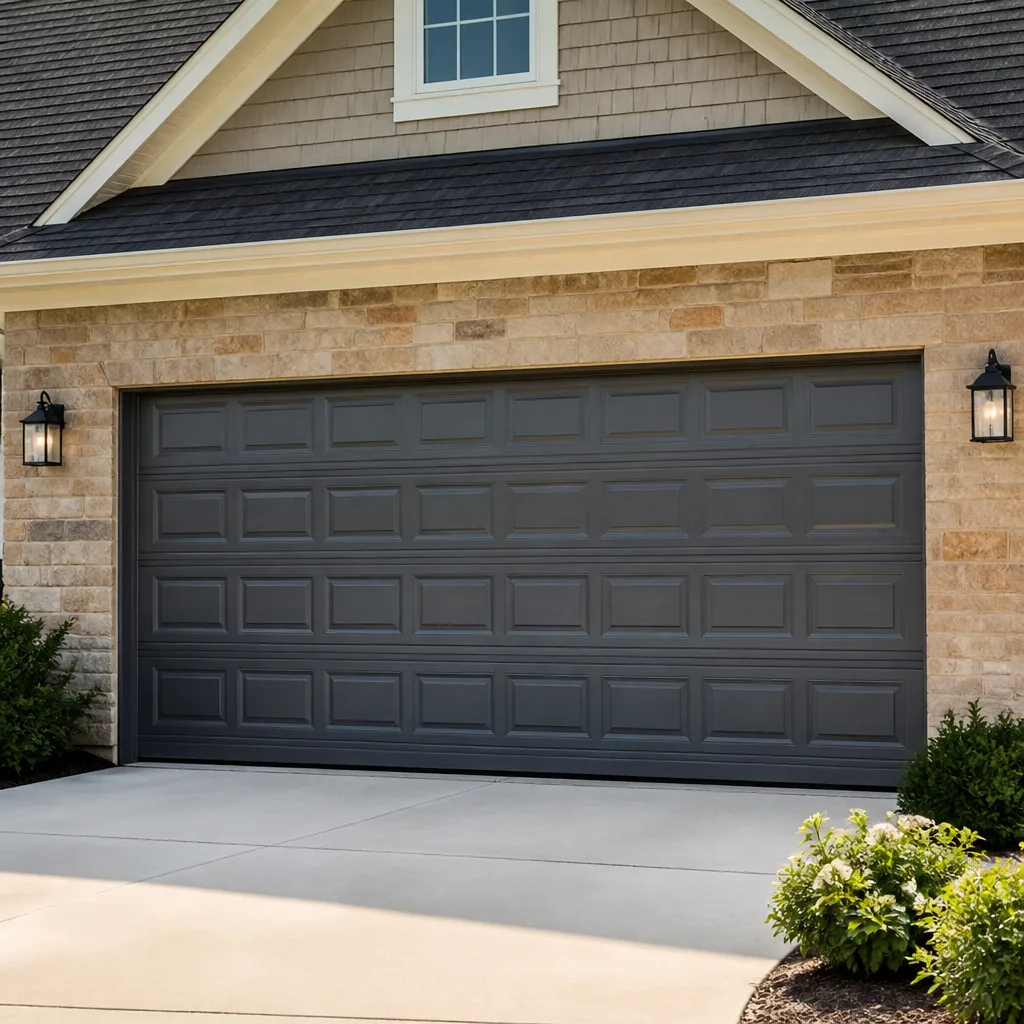 Raised-panel steel
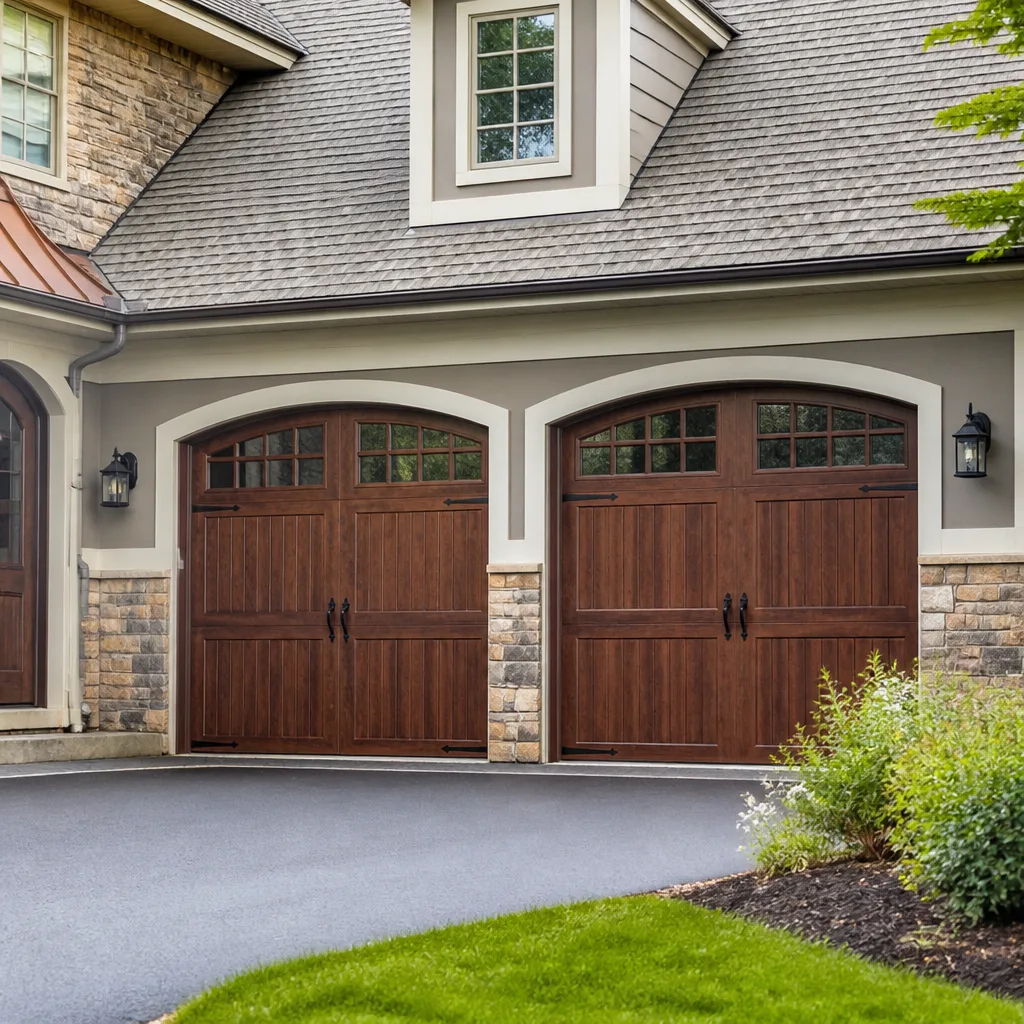 Carriage house
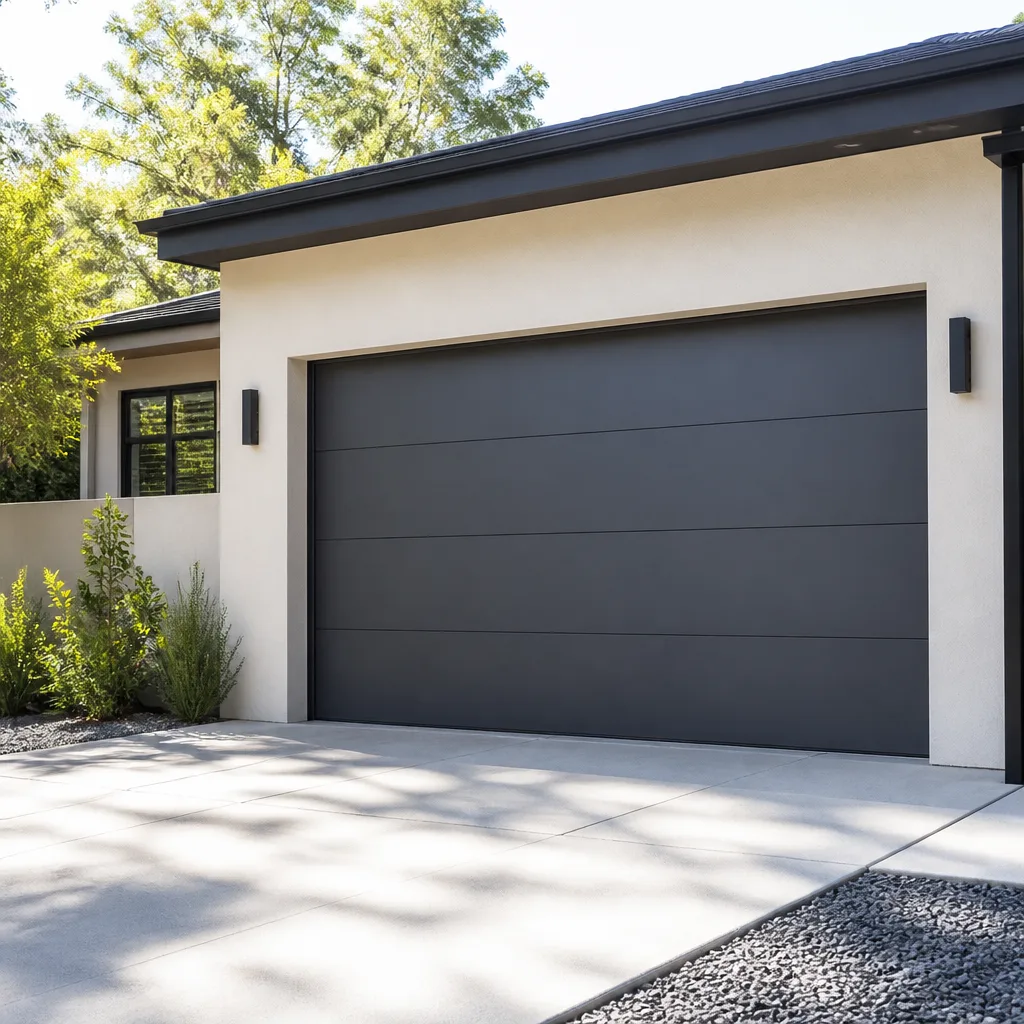 Modern flush
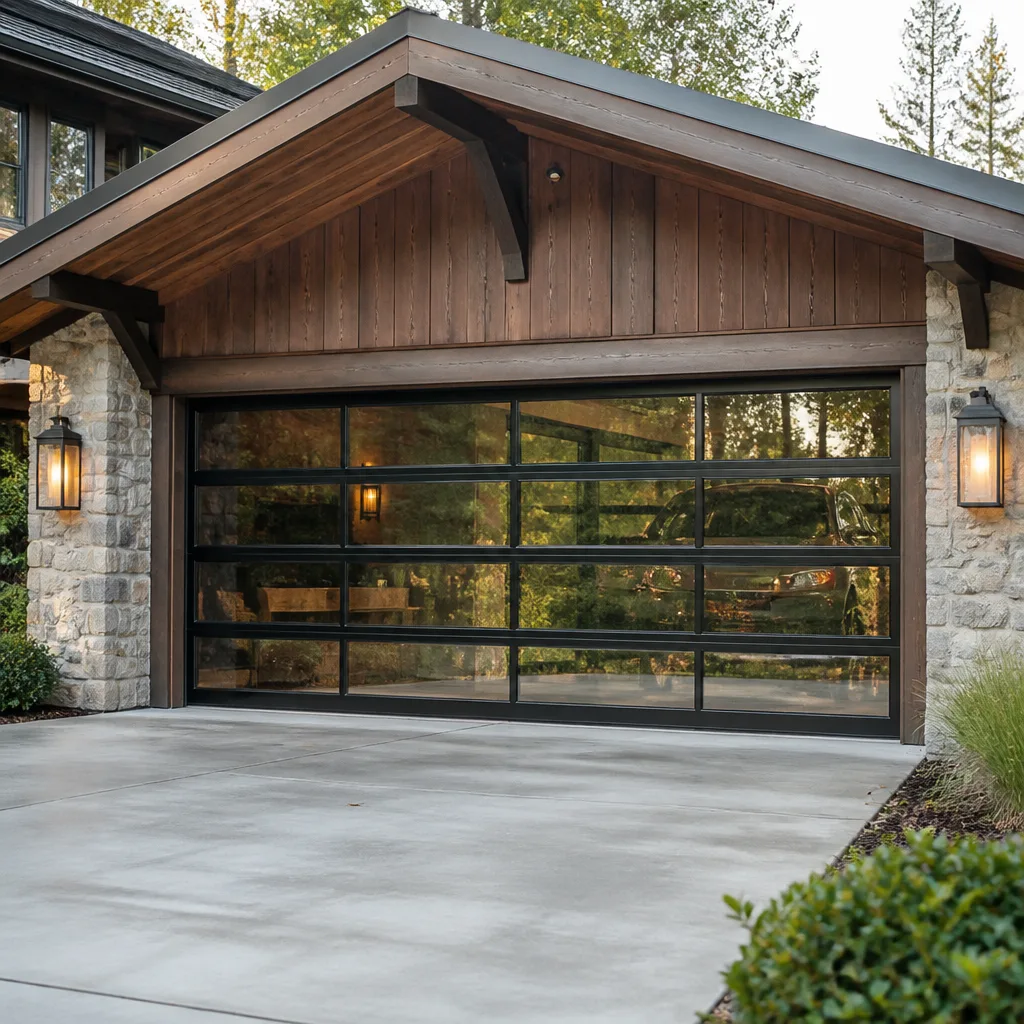 Full-view glass
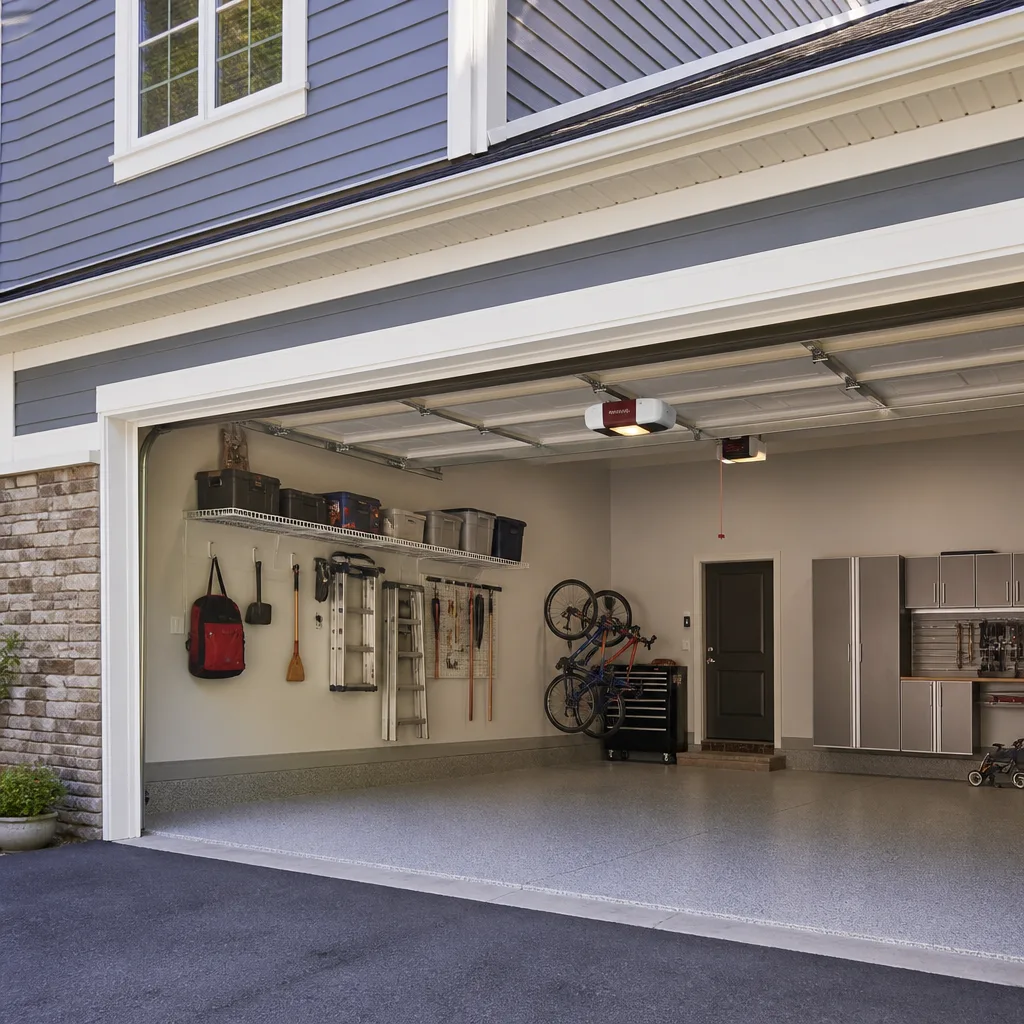 LiftMaster openers
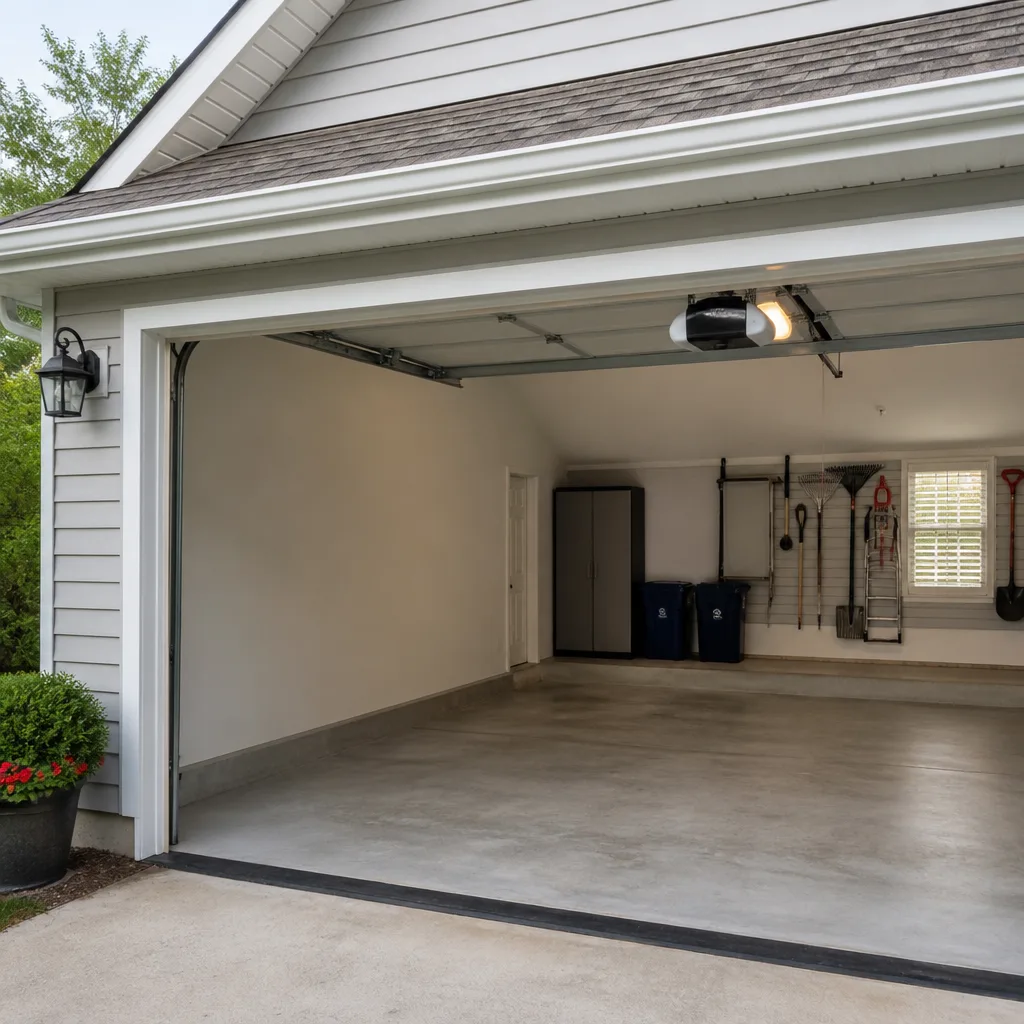 Chamberlain openers
Full 25-point door and opener safety check with every visit - springs, cables, rollers, tracks, and your LiftMaster or Chamberlain opener included
You get a price before we start. It does not change when the truck arrives.
Get your free estimateGarage Door Repair Troubleshooting: Common Problems and How to Fix Them
A garage door that reverses before hitting the floor is almost always blamed on sensor misalignment, but in roughly one-third of the service calls we run across Temecula, the sensors are perfectly fine. The real culprit is a limit switch that has drifted out of calibration, telling the opener the door has traveled farther than it actually has. Homeowners spend an afternoon wiping sensor lenses and straightening brackets, only to watch the door reverse again the next morning. This guide teaches you how to read symptom combinations, not just isolate symptoms, so you can tell the difference between a five-minute fix and a problem that needs our Garage Door Repair services. By the time you finish reading, you will know which problems you can safely address yourself and which ones belong on a service truck.
Quick Answer
Garage door troubleshooting starts with identifying whether the problem is mechanical (springs, cables, rollers, tracks) or electrical (sensors, circuit boards, limit switches, remotes). A door that won’t open, reverses mid-travel, or makes grinding noises usually points to one of a handful of root causes: sensor misalignment, limit switch drift, broken torsion springs, worn rollers, or a failing opener logic board. Most mechanical repairs involving torsion springs or cables require professional service due to stored tension; sensor cleaning and remote reprogramming are the two fixes most homeowners can handle safely.
Styles & brands we work with
Table of Contents
- Reading Symptom Clusters: The Pattern Recognition Method
- Noise Diagnosis: What Your Garage Door Is Telling You
- Door Reverses or Won’t Close: Sensors vs. Limit Switches
- Opener Logic Problems: Error Codes and Blinking Lights
- Spring Failures: The Most Misdiagnosed Problem
- Masked Failures: Fixes That Feel Right for a Few Days
- The Stop-Here Threshold: When DIY Stops Being Worth It
Reading Symptom Clusters: The Pattern Recognition Method
Single symptoms mislead. A grinding noise might mean worn rollers, a failing bearing, or a door scraping against a shifted track. The diagnostic skill that separates a real technician from a parts-swapper is the ability to group symptoms and identify which combination points to a single root cause. Most garage door failures produce a signature: a noise type paired with a movement pattern paired with an opener behavior. Here is the matrix we use on every service call in Temecula, from the older Wolf Creek homes to the newer builds in Sommers Bend.
- Grinding noise + door hesitates + opener strains: Usually roller failure or track obstruction. The door fights its own hardware.
- Squealing noise + smooth movement + opener sounds normal: Dry bearings or rollers needing lubrication. Cosmetic wear, not structural.
- Loud bang + door slams or drops + opener runs but nothing moves: Torsion spring failure. Stop using the door immediately and call a professional.
- Clicking + door does not move + opener light flashes: Logic board failure or capacitor issue inside the opener unit. Electrical, not mechanical.
- Rattling + door moves fine + noise changes with temperature: Loose hardware or track brackets. Tightening usually resolves it.
- Humming + door moves slowly + opener feels warm: Capacitor failure or a dying motor. The opener is working harder than it should.
The pattern matters because fixing one symptom in a cluster without addressing the root cause is how doors end up back in the same broken state two weeks later. We have seen Temecula doors where homeowners replaced rollers three times before anyone noticed the track itself had shifted, dragging the new rollers into early wear. When you learn to read combinations, you stop chasing symptoms and start repairing systems.
Noise Diagnosis: What Your Garage Door Is Telling You
Garage doors are mechanical systems, and mechanical systems communicate through noise. The trick is learning which sounds are normal operating character and which are warnings. A properly tuned door should open and close with a steady, low hum from the opener and a soft rumble from the rollers. Anything louder than a conversation is worth investigating.
Here is how to break down the most common noise signatures we hear across Temecula garages:
Grinding or Scraping
Grinding almost always means metal-on-metal contact where there should not be any. The usual suspects are rollers with seized bearings, a door edge scraping a shifted track, or a torsion spring rubbing against its center bracket. If the grinding follows the door’s movement, it is roller or track related. If it happens only at specific points in the travel, check for track misalignment or debris. Roller replacement on most doors takes under an hour, but working inside the track while the door is under spring tension is not a beginner job.
Squealing or High-Pitched Whine
Squealing is friction. On belt-driven openers, a dry belt can produce a whine that sounds worse than it is. On the door itself, dry rollers or hinges squeal until lubricated. White lithium grease on hinges and a silicone-based lubricant on rollers usually quiets the noise. Do not use WD-40; it displaces water but strips the existing grease and leaves the metal dryer than before.
Popping or Banging
A single loud bang from a torsion spring system is the sound of a spring snapping under tension. The door may still move if the opener strains hard enough, but the spring is no longer counterbalancing the weight. Every cycle without a functioning spring adds wear to the opener motor. This is a stop-using-the-door-now situation. Springs are under several hundred pounds of tension, and the injury risk from a failed DIY repair is severe.
Rattling or Vibrating
Rattling that changes with temperature is usually loose hardware expanding and contracting. Track brackets, hinge bolts, and opener mounting straps all loosen over time, especially in Temecula where summer heat and the occasional cold snap create constant thermal cycling. A quick pass with a socket wrench on the track brackets and hinges resolves most rattles in ten minutes. If the rattle persists after tightening, check the opener mounting plate, which carries more vibration than anything else in the system.
Door Reverses or Won’t Close: Sensors vs. Limit Switches
The safety sensors mounted near the bottom of each track are the most common scapegoat for a door that reverses, but they are only one of several causes. Before you touch the sensors, watch the behavior carefully, because the sequence matters.
If the door starts closing, travels partway down, and then reverses while both sensor lights are on and steady, the sensors are not the problem. That pattern points to a limit switch that has drifted. The opener thinks the door has hit the floor because the limit setting is wrong, so it reverses as a safety response to what it interprets as an obstruction. This is common on LiftMaster openers after a power outage or a manual release, when the travel limits lose their calibration.
If the door reverses immediately, with the sensor lights blinking or one light off entirely, you have a sensor alignment issue. The lens must sit level and point directly at the receiving sensor. Sunlight can also blind sensors, which matters in Temecula where west-facing garages get full afternoon sun through the doorway. A simple cardboard visor taped above the sensor often fixes a recurring afternoon reversal. But do not skip the limit switch check, because the sensors are innocent more often than Garage Door Warning Signs: A Temecula Homeowner’s Reference Guide admits.
Here is the proper sequence for diagnosing a reversing door:
- Check both sensor lights. If both are steady, skip the sensor cleaning and go to step 3.
- If a light is off or blinking, clean the lens, verify wiring connections, and re-aim the sensor. Test the door.
- If sensors are aligned but the door still reverses mid-travel, check the limit switch settings on the opener.
- Adjust the down limit slightly and test. Small adjustments matter; a quarter-turn can be the difference between hitting the floor and reversing.
- If adjustment does not fix it, the limit switch itself may be failing, which requires opener repair or replacement.
For garage door opener repair involving limit switches, logic boards, or sensor wiring, the work is electrical and fiddly, and a wrong move can leave you with a door that will not close at all. More on that in the opener section below.
Opener Logic Problems: Error Codes and Blinking Lights
Modern openers are computers with a motor attached. When the logic board detects a problem, it communicates through blinking light patterns, beep sequences, or both. The catch is that each brand speaks a different dialect. A blinking light on a LiftMaster means something different from the same blink count on a Genie, and no universal decoder exists aside from the manual that most homeowners lost years ago.
We work on LiftMaster, Chamberlain, Genie, Clopay, Amarr, Wayne Dalton, Craftsman, and Raynor systems every day, so here is a quick translation guide for the patterns you are most likely to see:
- LiftMaster / Chamberlain: One blink = sensor obstruction or misalignment. Five blinks = motor overheated, let it cool for 15 minutes. Six blinks = logic board failure, requires replacement.
- Genie: One blink = sensor problem or wiring fault. Three blinks = RPM sensor failure, meaning the motor is running but the board cannot sense it, usually a circuit board issue.
- Craftsman: One blink = sensor obstruction. Four blinks = force settings need adjustment, meaning the door is catching and the opener shuts down to protect itself.
- Raynor: Similar to LiftMaster patterns, since many Raynor openers share control board architecture. Sensor and limit issues predominate.
If your opener is blinking and you do not have the manual, note the blink count, count the pattern twice, and look up the model number. The model sticker is usually on the back or side of the motor housing. Error codes narrow the problem down to a specific subsystem, which is half the diagnostic battle.
Wall button problems trip up a surprising number of Temecula homeowners. A dead wall button that does not open the door while the remote works fine is almost always the button itself or its low-voltage wiring, not the opener. These buttons are wired with thin bell wire that can break or corrode, especially in garages that see humidity swings. If the remote works but the wall button does not, test the remote from outside the garage to confirm the opener responds normally, then trace the wall button wiring. This is a five-minute diagnostic that saves a service call on opener problems that are actually just wiring.
Spring Failures: The Most Misdiagnosed Problem
Torsion springs are the quiet workhorses of every garage door. They carry the door’s weight, allowing the opener to move two hundred pounds of steel and wood with a small motor. When a spring fails, the opener suddenly has to move the full weight alone, which it cannot do for long. The failure pattern is distinctive, but it gets misdiagnosed as a dead opener more often than you would think.
A broken torsion spring announces itself with a loud bang from inside the garage. After the bang, the door either will not open, opens a few inches and stops, or rises unevenly with one side lagging. The opener motor still runs; it strains and hums but the door does not move as it should. That is the key distinction: a dead opener makes no motor noise, while a broken spring makes the motor work harder.
If you suspect a broken spring, look at the torsion bar above the center of the door opening. A broken spring shows a visible gap in the coil, usually about two inches wide, right in the middle of the spring. This check does not require touching anything, and it confirms the diagnosis in five seconds. Replacement involves winding new springs under tension, which is dangerous work. The stored energy in a torsion spring can break bones or worse. This is a professional-only repair, no exceptions.
Extension springs, the older system with springs running parallel to the horizontal tracks on either side, fail differently. They stretch, lose tension gradually, and the door gets progressively harder to open. A stretched extension spring has a visible gap between coils or a spring that sags in the middle. Safety cables through extension springs are required by code; if yours are missing, the spring can become a projectile when it breaks. Temecula building code requires safety cables on all extension spring installations, but we still find uncabled springs in older homes from the 1980s and 1990s.
Masked Failures: Fixes That Feel Right for a Few Days
Some repairs work only long enough to feel like a success, then the problem creeps back. These masked failures are the most frustrating because they convince homeowners the issue was minor, when in reality the root cause was never addressed. Understanding which conditions fall into this category saves time, money, and a second service call.
Lubricating rollers on a misaligned track. The grease masks the scraping noise for a few days, but the roller keeps grinding against the track as the door cycles. The track shifts back or the roller wears further, and the noise returns. The fix is realigning or replacing the track, not adding lubricant. We see this regularly in Temecula garages with metal tracks that have been bumped by cars or shifted by foundation settling.
Reprogramming a remote when the logic board is failing. A failing logic board sometimes forgets remote programming intermittently. Reprogramming the remote works until the board resets again, which can be hours or weeks later. If a remote loses programming more than once in a month, the board is failing and the fix is board replacement, not another reprogramming.
Adjusting the limit switch when the spring has lost tension. A weak spring makes the door heavy, so the opener struggles and the limit settings shift. You can re-adjust the limits and get a few days of normal operation, but the spring keeps losing tension and the door keeps drifting. Eventually the spring fails completely. The real fix is spring replacement, not limit switch adjustment. This is a particularly misleading pattern because the adjustment genuinely helps in the short term.
Tightening a loose hinge when the door panel is cracked. A cracked panel flexes under load and loosens whatever is attached to it. Tightening the hinge works until the panel flexes again. The permanent fix is panel replacement, which usually means garage door installation for the affected section or the entire door.
The pattern to recognize: when a fix works briefly and then fails again, the first repair was addressing a symptom, not the cause. A repair that holds for a year is a repair. A repair that holds for three days is a clue.
The Stop-Here Threshold: When DIY Stops Being Worth It
There is a line between maintenance and hazards, and that line is drawn by stored energy. Anything involving torsion springs, extension springs under load, or cables carrying door weight sits firmly on the professional side. The downside of a mistake with a sensor is a door that will not close. The downside of a mistake with a spring is an injury. That asymmetry is the whole decision.
Here are the symptom combinations that mean hands-off, regardless of your confidence level:
- Broken torsion spring (visible gap in the coil): Do not touch the door. Call a professional.
- Frayed cable or cable off the drum: The cable carries the same tension as the spring. Professional repair only.
- Door off-track with weight resting on the track: The door must be unweighted and re-seated, which requires spring knowledge.
- Any repair requiring you to touch a spring, cable, or bottom bracket: These components are always under tension, even when the door is open.
- Electrical work on the opener circuit board: Logic board replacement is done with the power disconnected, but mishandled boards can short and leave the opener dead.
Safe DIY territory includes sensor cleaning and alignment, remote replacement and programming, lubrication of rollers and hinges, tightening loose hardware, and limit switch adjustment when you follow the manual. These tasks have failure modes that are annoying, not dangerous, and you can find more guides & resources on our blog. For everything else, professional service exists because the work requires experience that no guide can safely compress into a paragraph.
Common Mistakes to Avoid
- Fixing sensors without checking the limit switch. As we covered, sensor misalignment is over-diagnosed. Check the limit switch before spending an hour on sensors that were already fine.
- Using WD-40 on rollers and hinges. It is a degreaser, not a lubricant. Use white lithium grease for hinges and silicone spray for rollers.
- Ignoring a broken spring and continuing to use the opener. Every cycle on a broken spring shreds the opener motor. What was a spring replacement becomes a spring and opener replacement.
- Adjusting force settings to compensate for a heavy door. Cranking up the opener’s closing force to overcome a stiff door is dangerous. The force setting exists as a safety feature. A heavy door needs its springs serviced, not its safety limits overridden.
- Replacing the opener when the problem is a broken spring. A motor that runs but does not move the door is often doing its job against a spring that has failed. Check the spring before buying a new opener.
- Lubricating a noisy door without checking for track misalignment. Grease is not a repair. If the noise comes back within a week, the track is the problem, not the lubrication schedule.
- Running the door with a visibly frayed cable. A frayed cable can snap without warning. When cables fail, the door drops or binds, causing further damage. Cables are professional territory.
See the difference
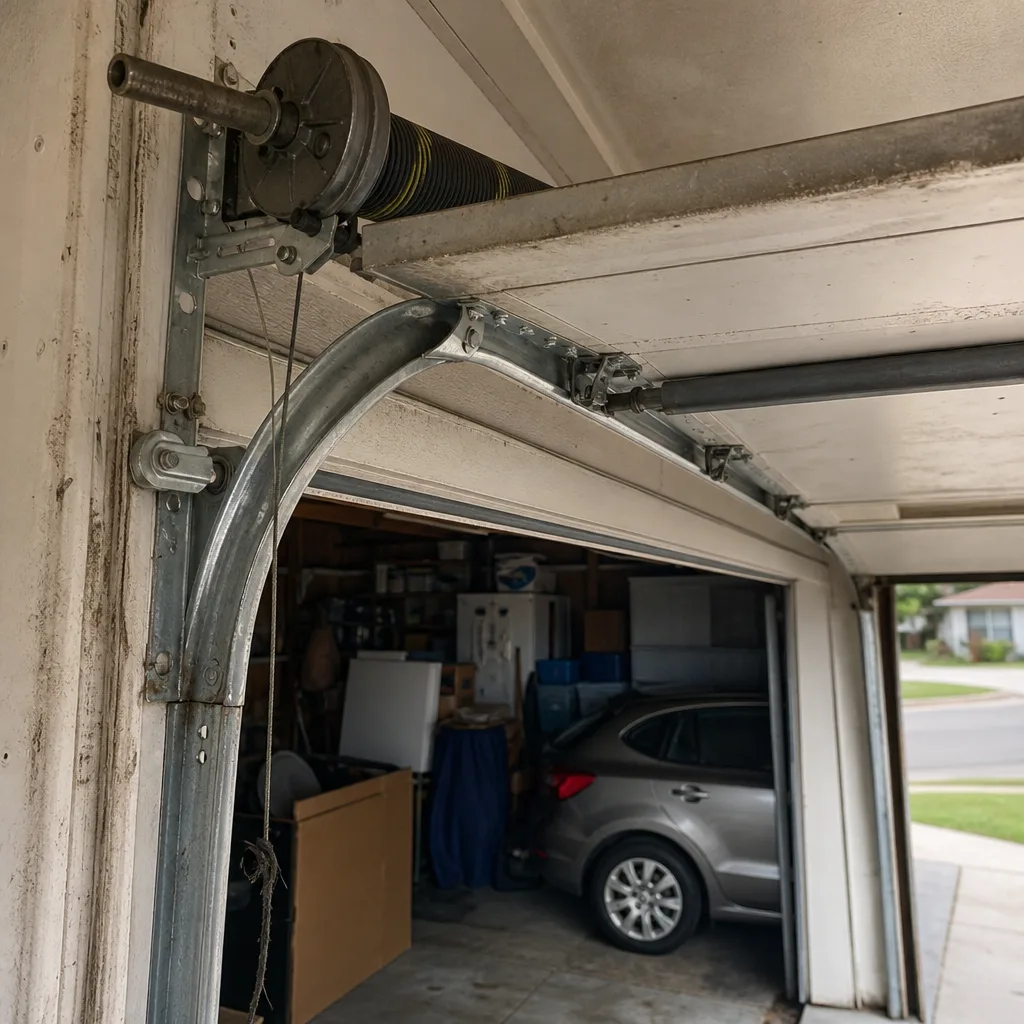 Before
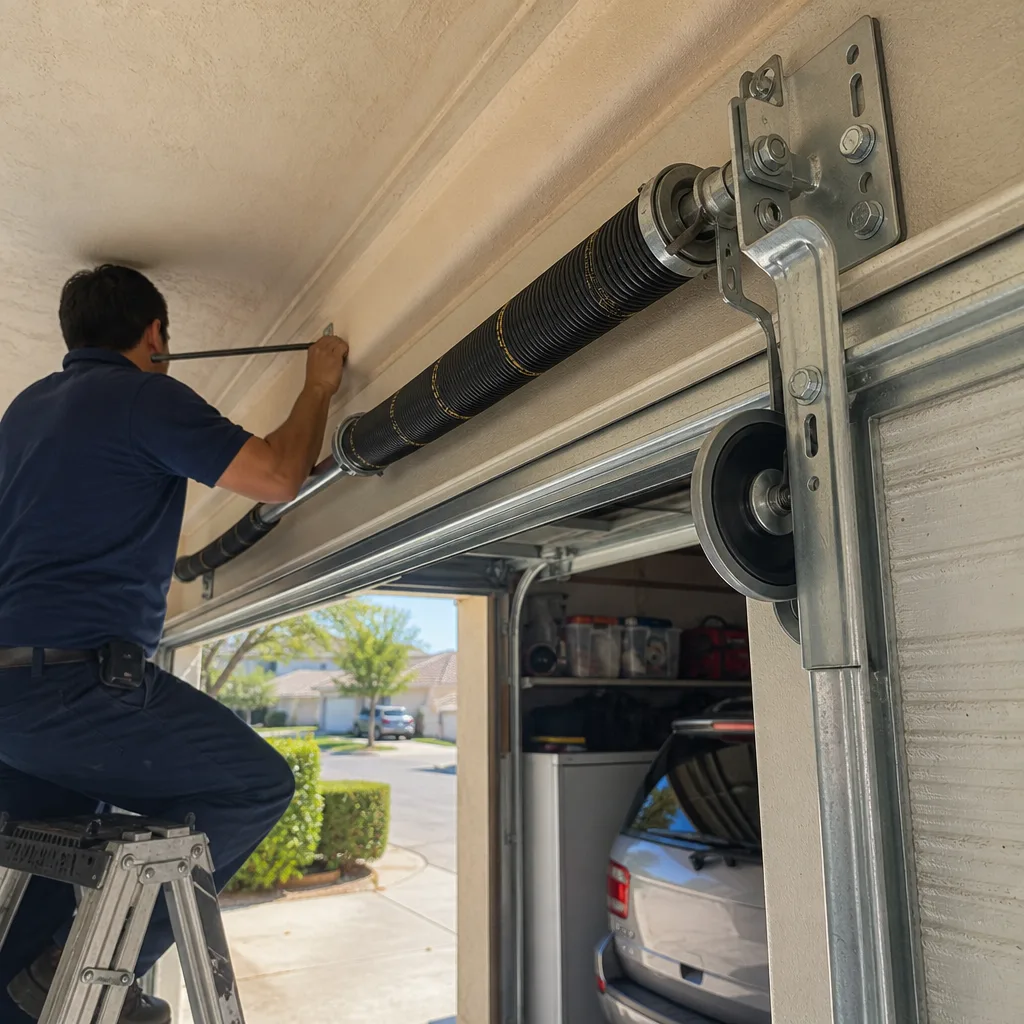 After
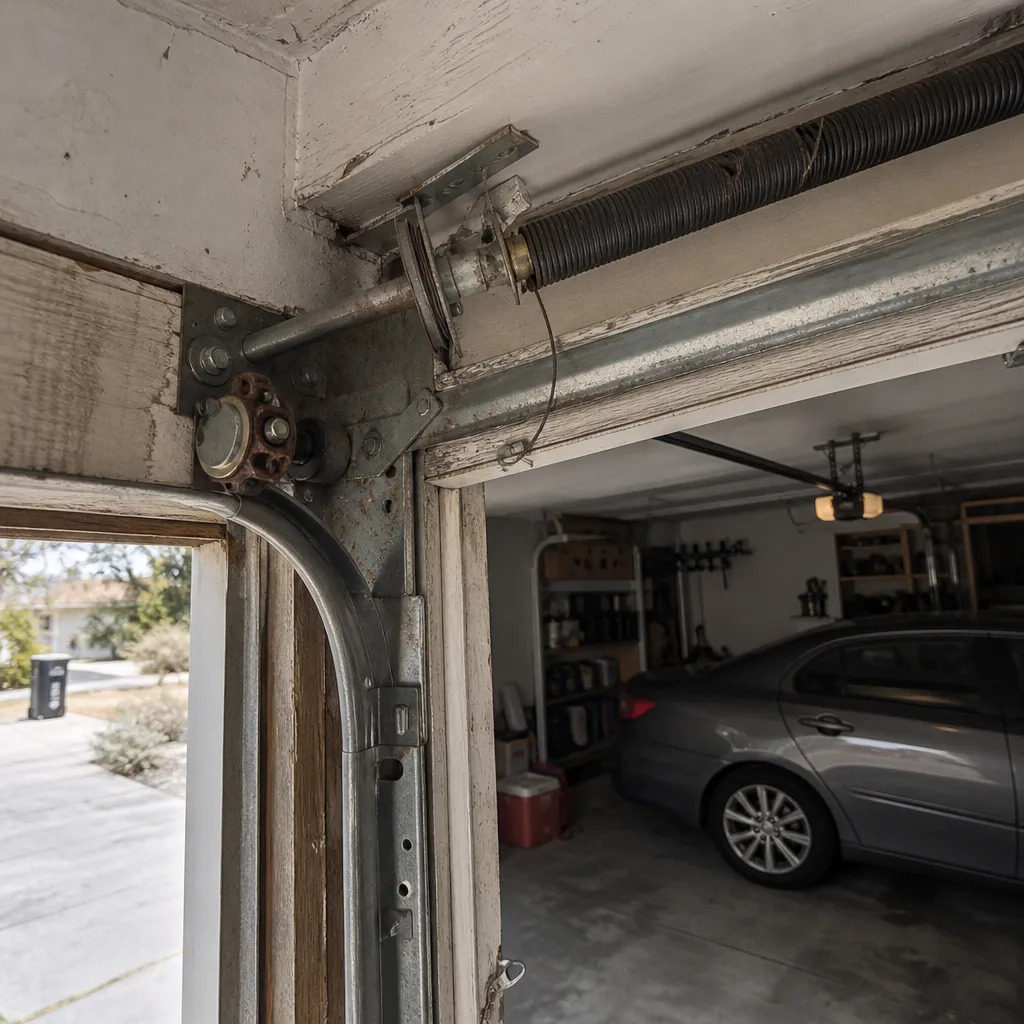 Before
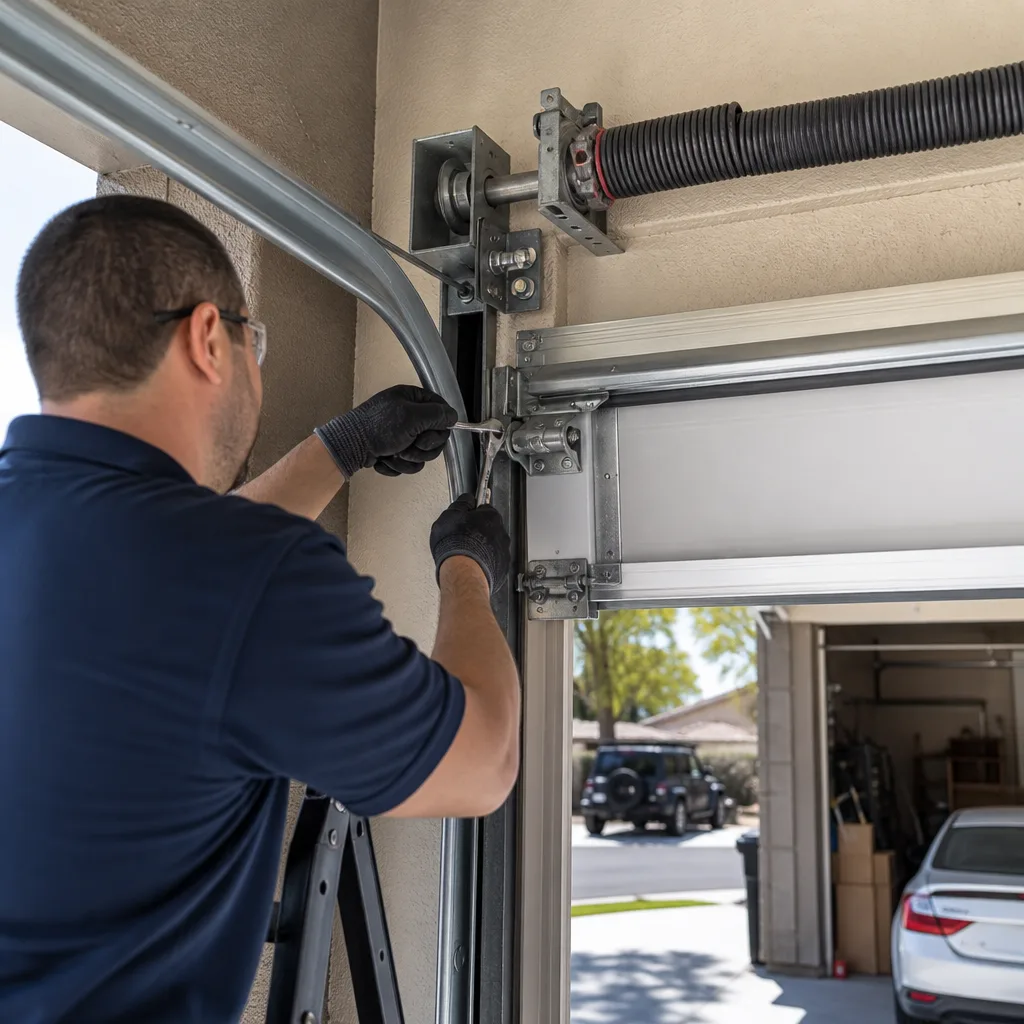 After
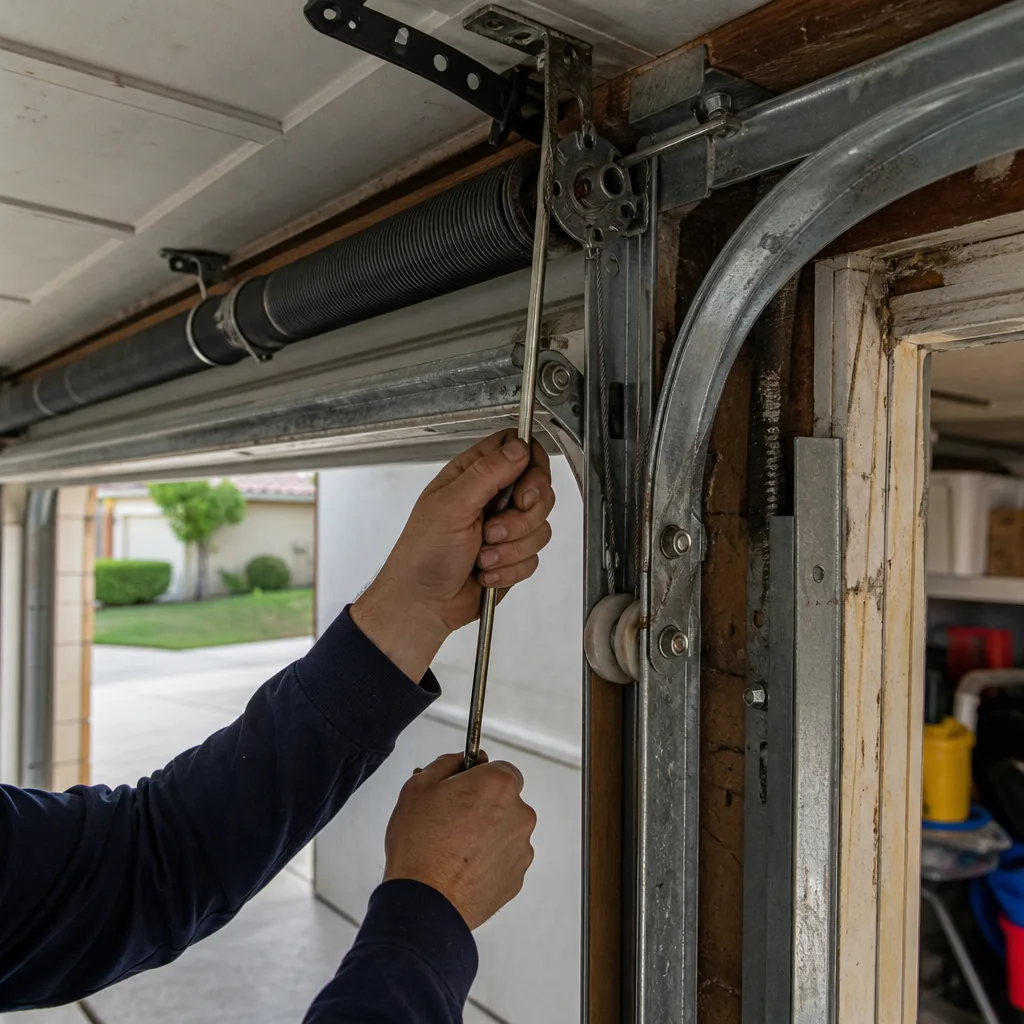 Before
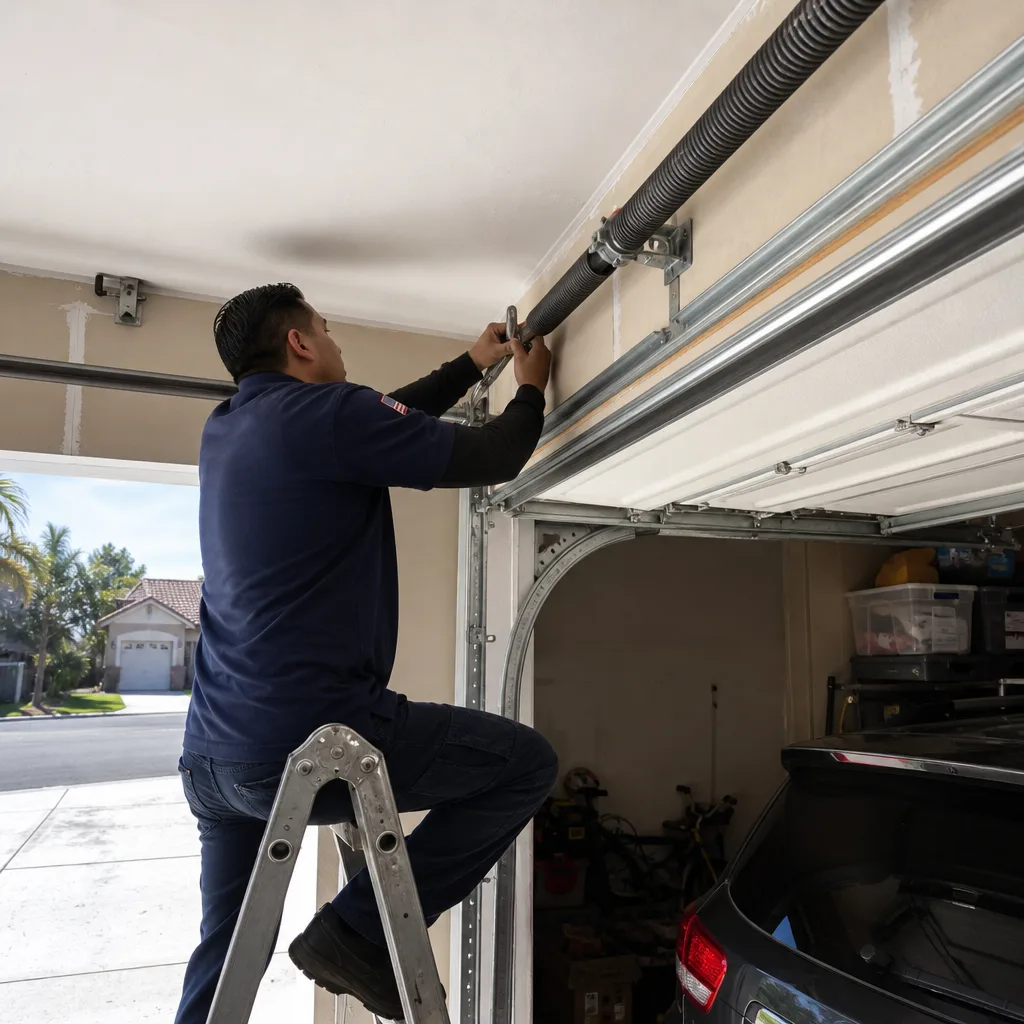 After
When to Call a Professional
Call a professional when the problem involves springs, cables, an off-track door, or a logic board that will not stay programmed. Those are the four conditions where the risk of injury or the cost of a mistake outweighs the savings of a DIY attempt. For everything from sensor alignment to opener programming to full door and opener diagnostics, Seabreeze Garage Door offers free estimates in Temecula, and our technicians work on LiftMaster, Chamberlain, Genie, Clopay, Amarr, Wayne Dalton, Craftsman, and Raynor systems, so you will not need to find a brand-specific shop or wonder How to Hire a Garage Door Contractor in Temecula: A Step-by-Step Guide. Call (888) 913-4062 for an exact quote, the price is confirmed before any work begins, and the estimate costs nothing.
Frequently Asked Questions
Pull the emergency release cord and operate the door by hand. If the door moves smoothly and stays in place when you stop, the door itself is fine and the problem is in the opener. If the door is heavy, binds, or will not stay open, the issue is mechanical, usually springs or rollers.
A door that reverses mid-travel typically has either misaligned safety sensors or a limit switch that has drifted out of calibration. Check the sensor lights first; if both are steady, adjust the down limit on the opener and test again.
No. Torsion springs and extension springs are under hundreds of pounds of tension, and unwinding or winding them without professional tools and experience carries a high risk of serious injury. This is a professional-only repair, even for experienced DIYers.
Garage door repair in Temecula typically ranges from $125 to $400 depending on the part and labor involved. Sensor alignment and limit adjustment sit at the low end; spring replacement runs higher because of the parts and tension work. Call (888) 913-4062 for an exact quote before any work begins.
Intermittent operation usually points to a failing logic board, a loose wire in the wall button circuit, or a remote with a dying battery. If the remote works but the wall button is flaky, check the wall button and its wiring. If both are flaky, the logic board is likely failing.
Yes. We are trained and experienced on eight major brands: LiftMaster, Chamberlain, Genie, Clopay, Amarr, Wayne Dalton, Craftsman, and Raynor. That covers the vast majority of doors and openers in Temecula garages, so you will not need to hunt for a brand-specific technician.
The Bottom Line
Garage door troubleshooting is pattern recognition, not symptom whack-a-mole. A door that reverses, a motor that hums, or a noise that changes pitch is each a clue, and the combination of clues points to the real problem. Sensor misalignment is over-diagnosed; limit switches and failing springs are under-diagnosed. Learn the patterns, know which fixes hold and which mask deeper issues, and respect the stored energy in springs and cables. When you hit the stop-here threshold, call a professional. For garage door repair in Wildomar and across the Temecula Valley, contact Seabreeze Garage Door home at (888) 913-4062. Estimates are free, and the price is locked before work starts.
Written by the team at Seabreeze Garage Door, serving Temecula since 2014.